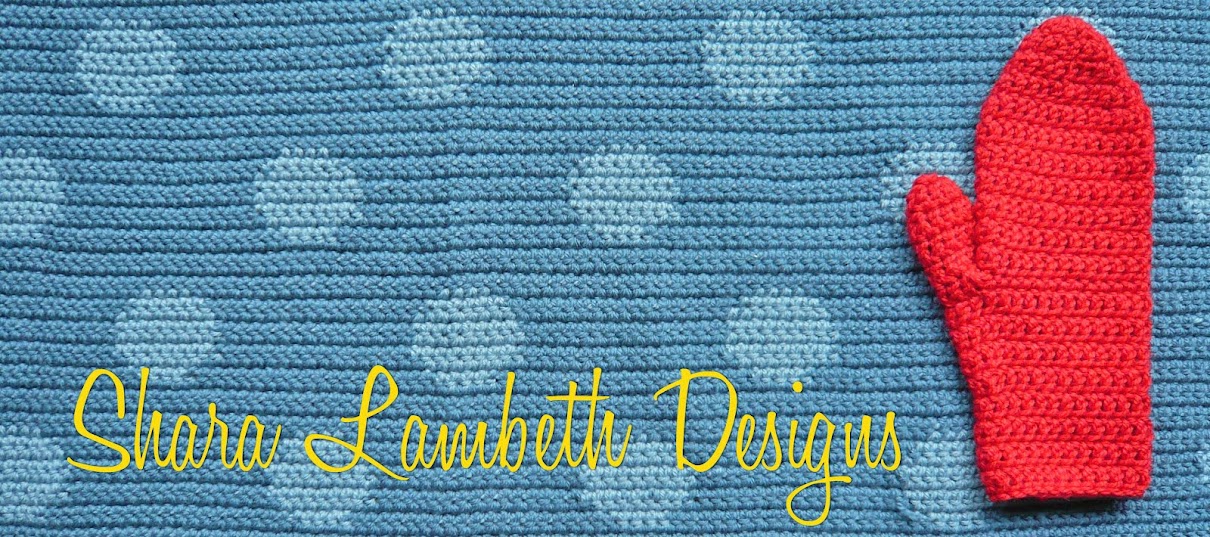
Hello friends!
Wow! It's been a REALLY long time since I last posted anything to this blog! Apologies! I do get into Instagram a lot, almost everyday, so if you like to have regular contact and see exactly what I'm working on each day you can follow me there @shara_made . I really LOVE seeing what everyone else is up with their creative pursuits too, so let me know you Instagram name in the comments below so I can find you there too :-)
Hopefully these new patterns will make up for my lack of contact over the last few months :-)
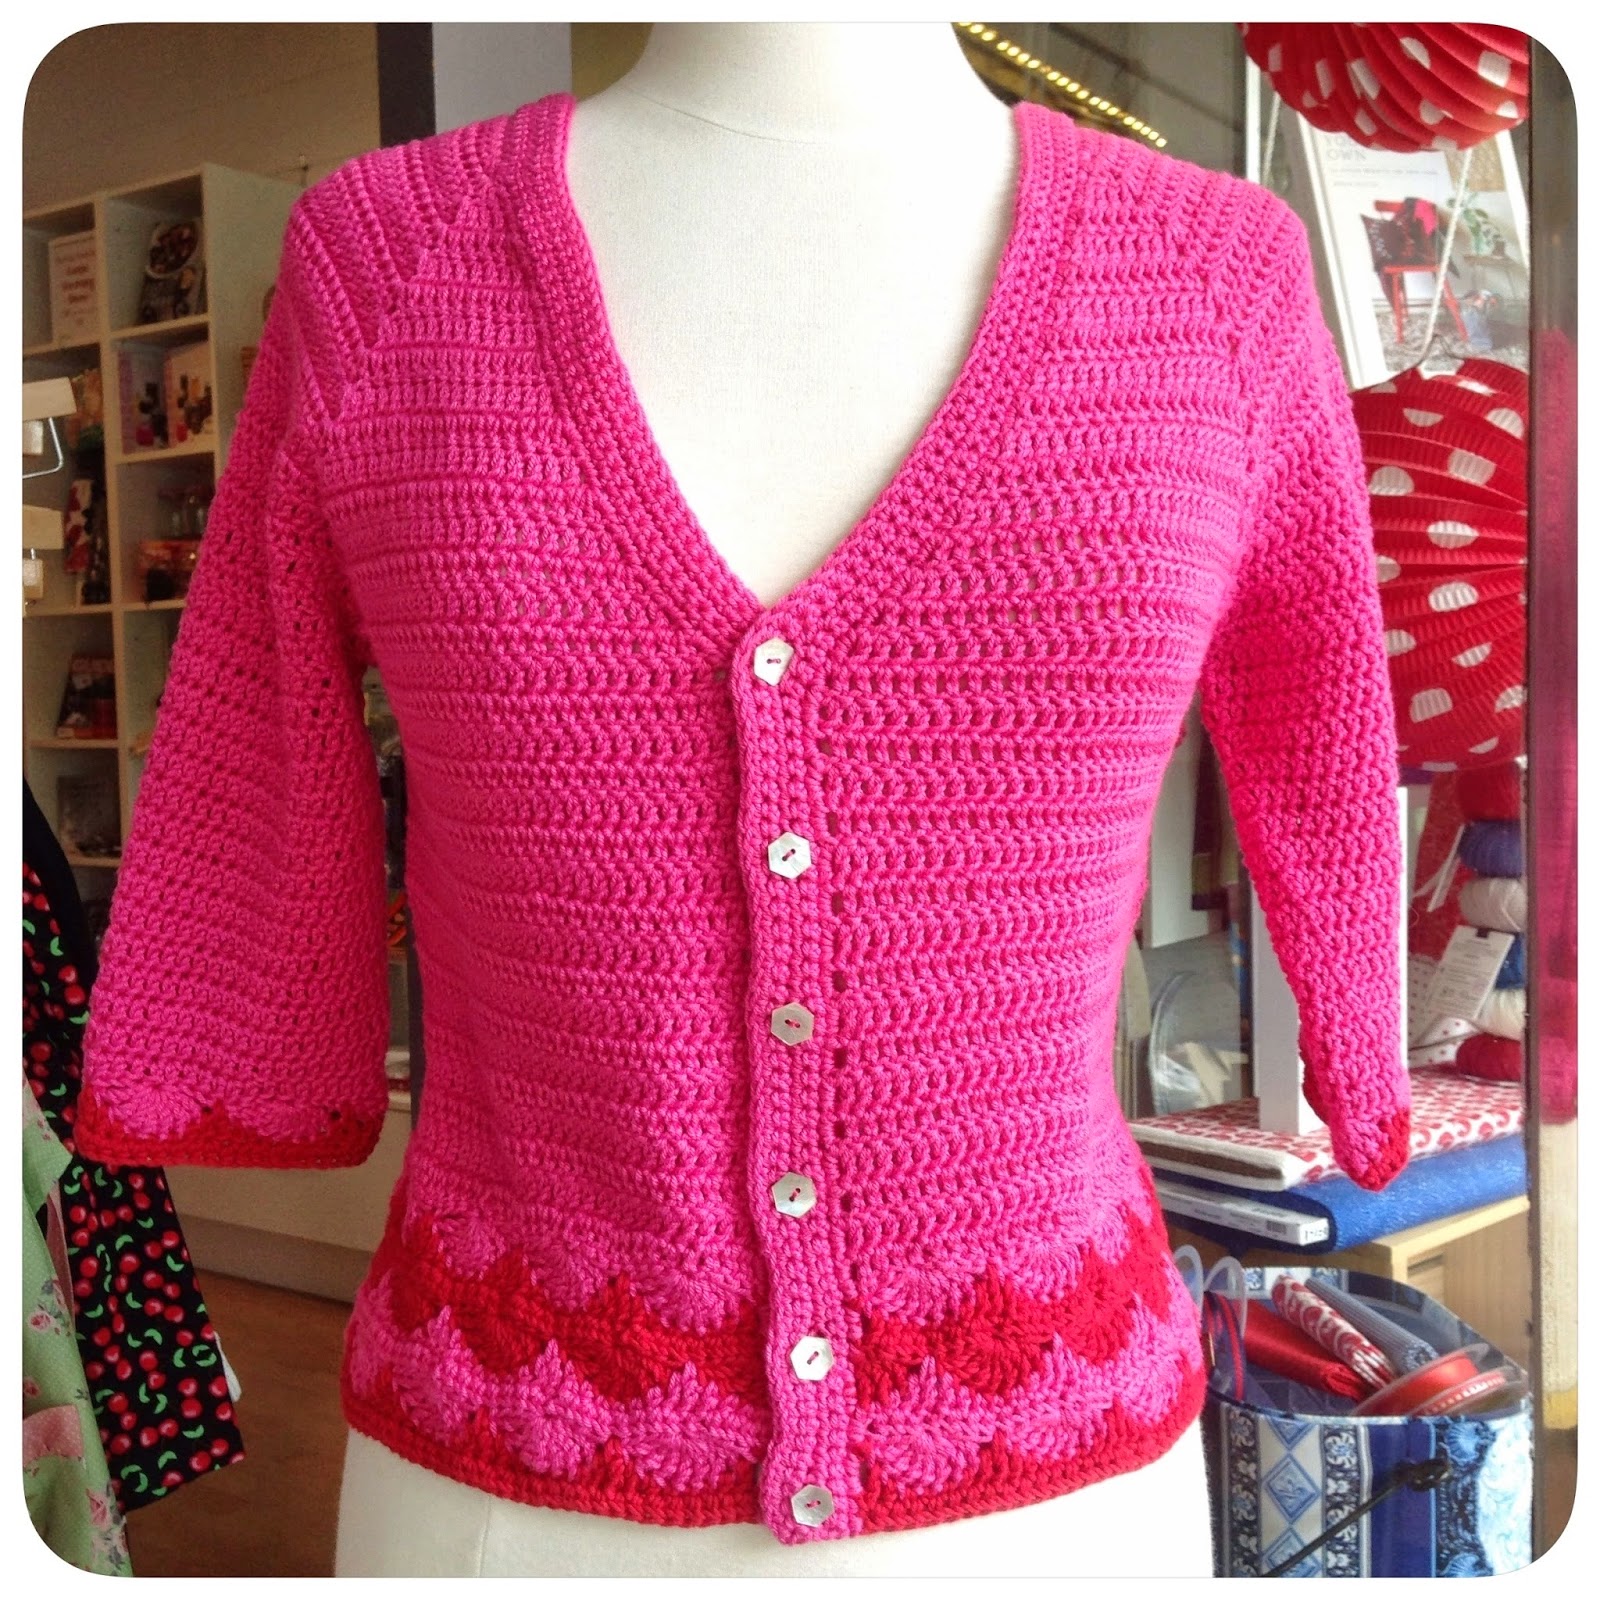
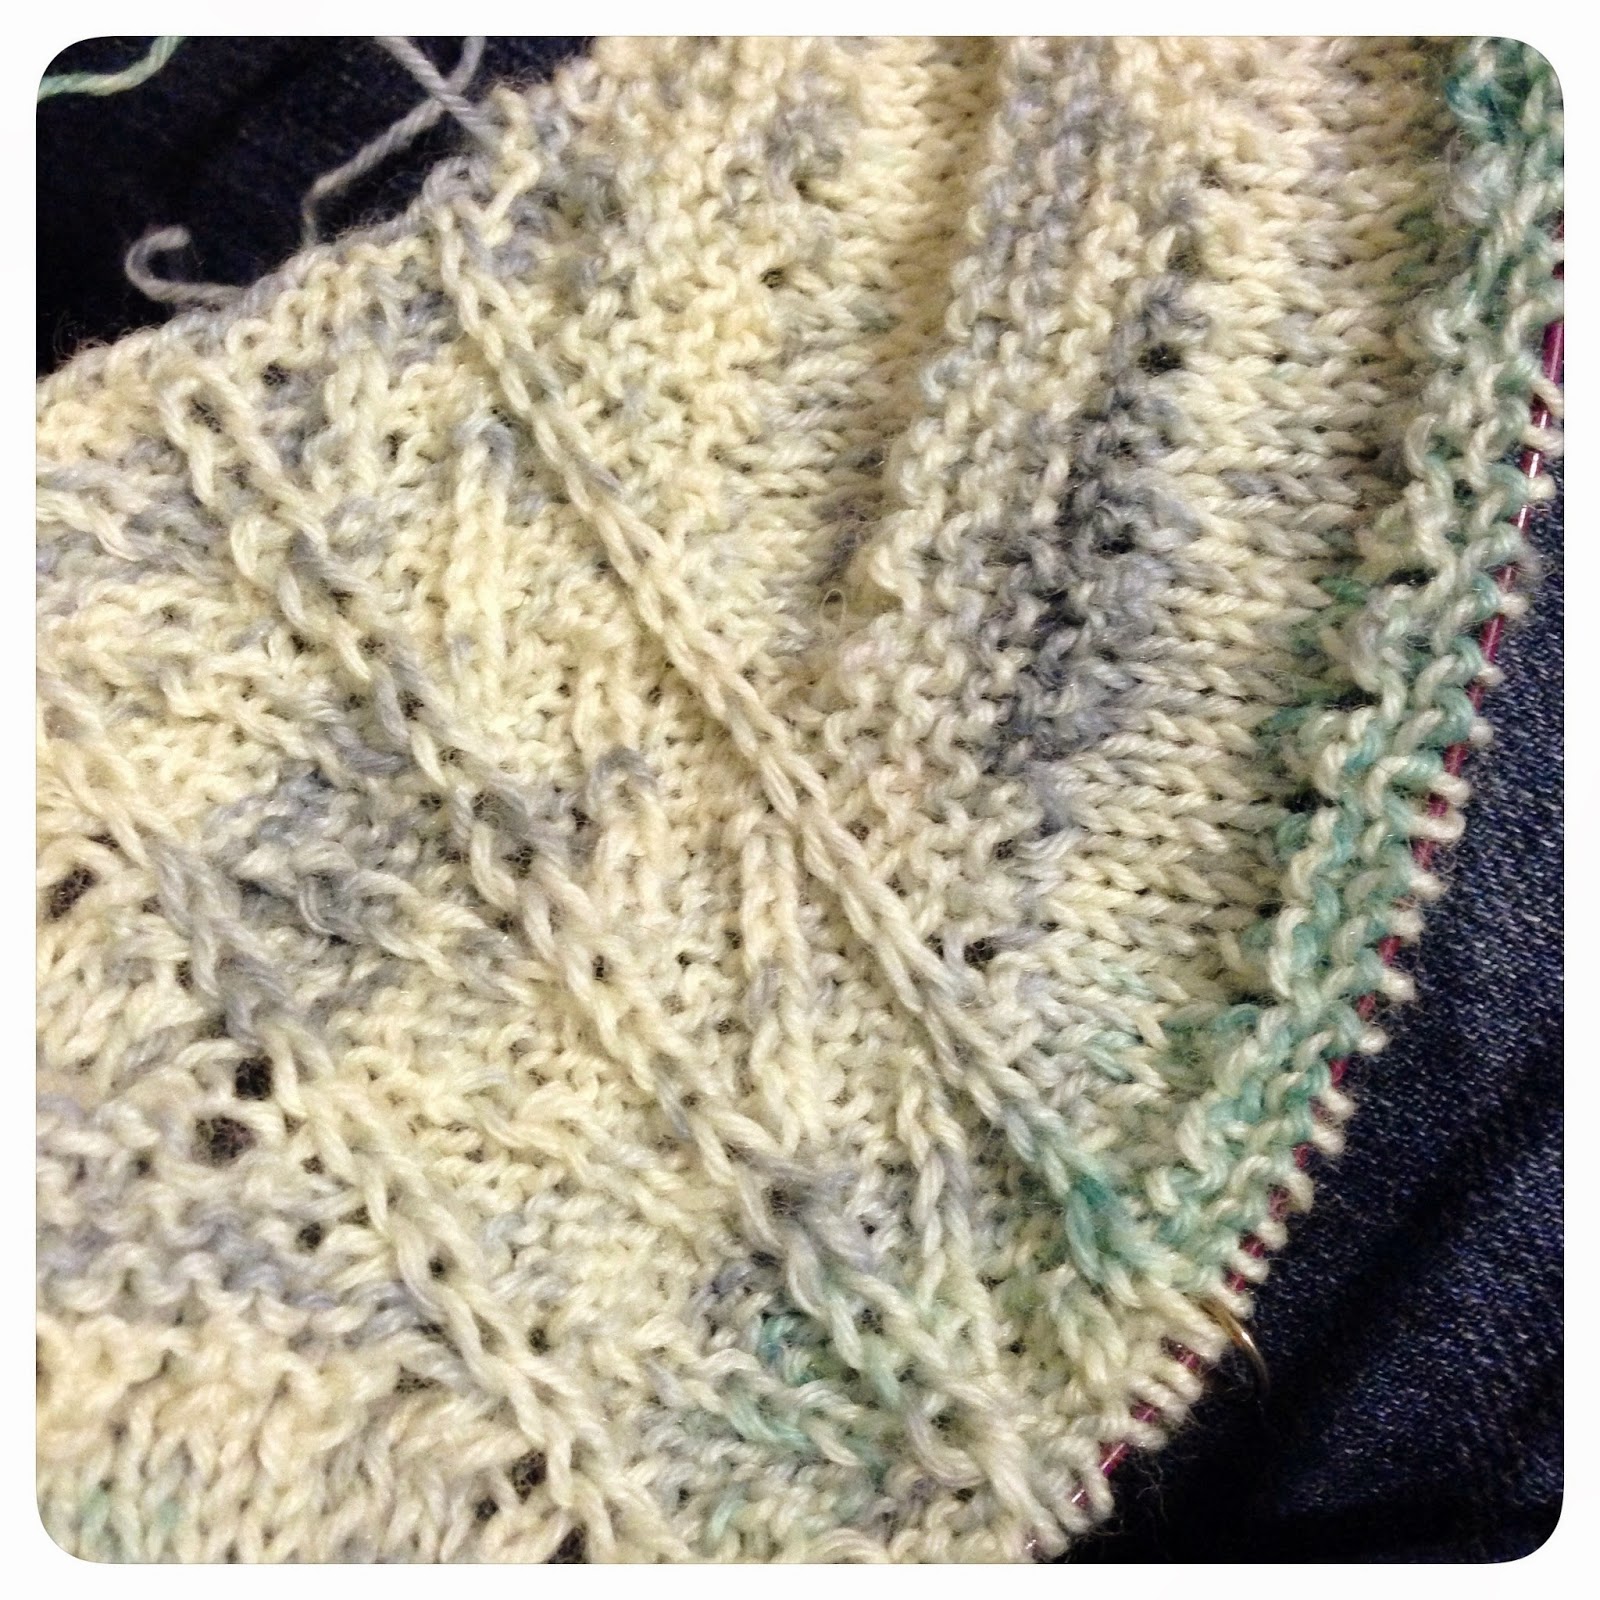
The Libertas collection includes, a cardigan, fingerless mitts and a hat, and they've been so much fun to work on and develop. You might be familiar with some of my knitted scallop beanies and a few little cardigans I've knitted with the same scallop pattern?? Well, I really love it! It could be petals, or maybe shells, or waves, or just a pretty pattern :-) Lots of my lovely friends who are strictly crocheters love the scallop pattern as well and wondered if I might be able to make a crochet version... Well, I do love a challenge, so I got busy and soon enough I had a crochet scallop pattern that I was able to incorporate in to various garments and accessories :-) Besides the cardigan, fingerless mitts and hat, I am presently working on a blanket using the same pattern, as well as a scallop scarf, cowl, and skirt!
For this series I have had some extra wonderful test crocheters who have been extremely helpful too!
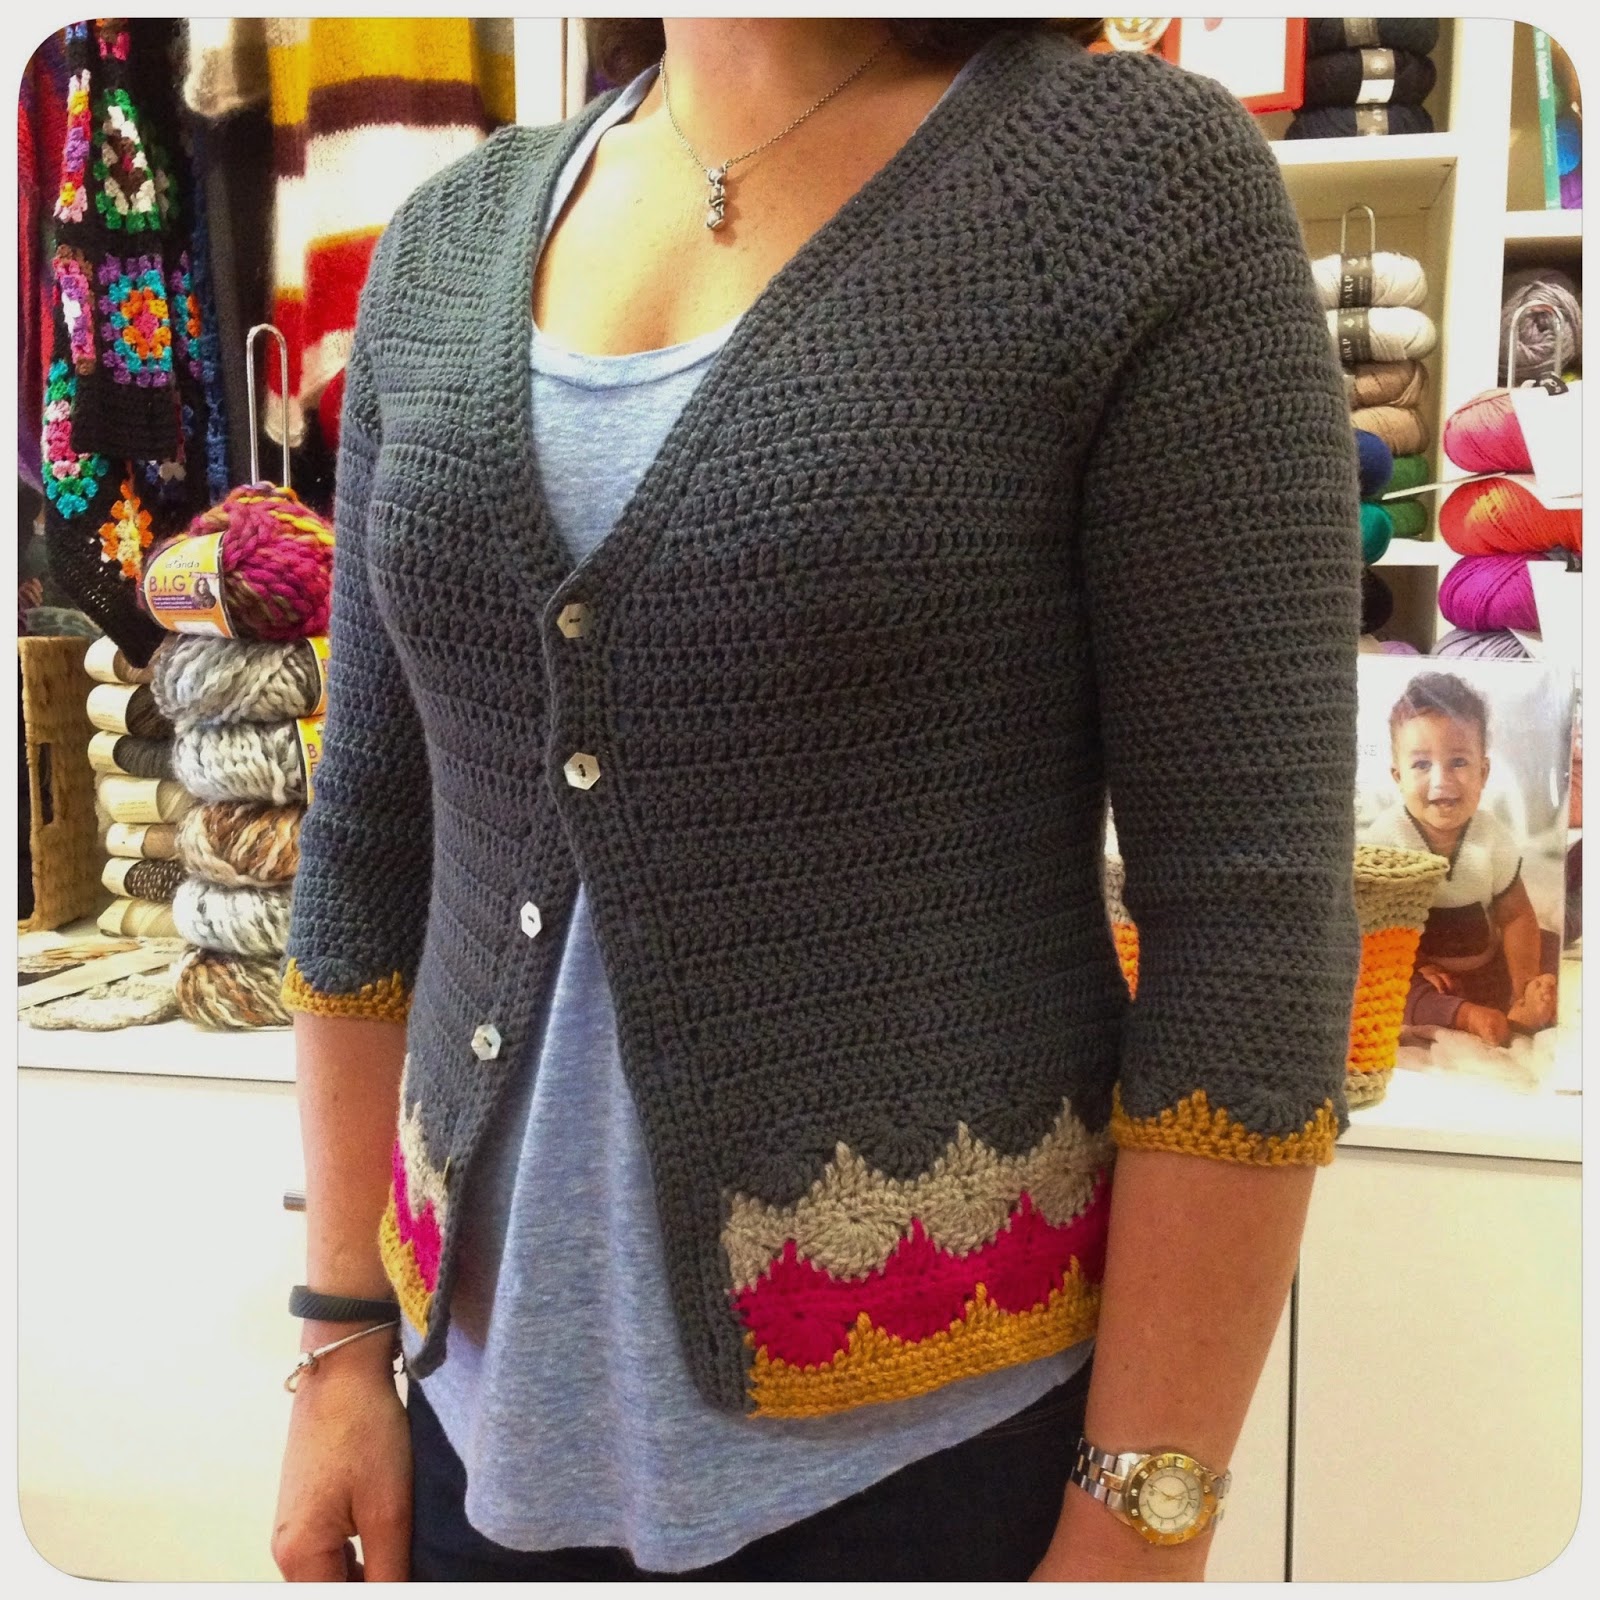
The cardigan is made from the top down, all in one piece (no seams to sew, woo hoo!) and has a v-neck & button closure, with 3/4 length sleeves (my favourite, and very practical for busy crafty folks).
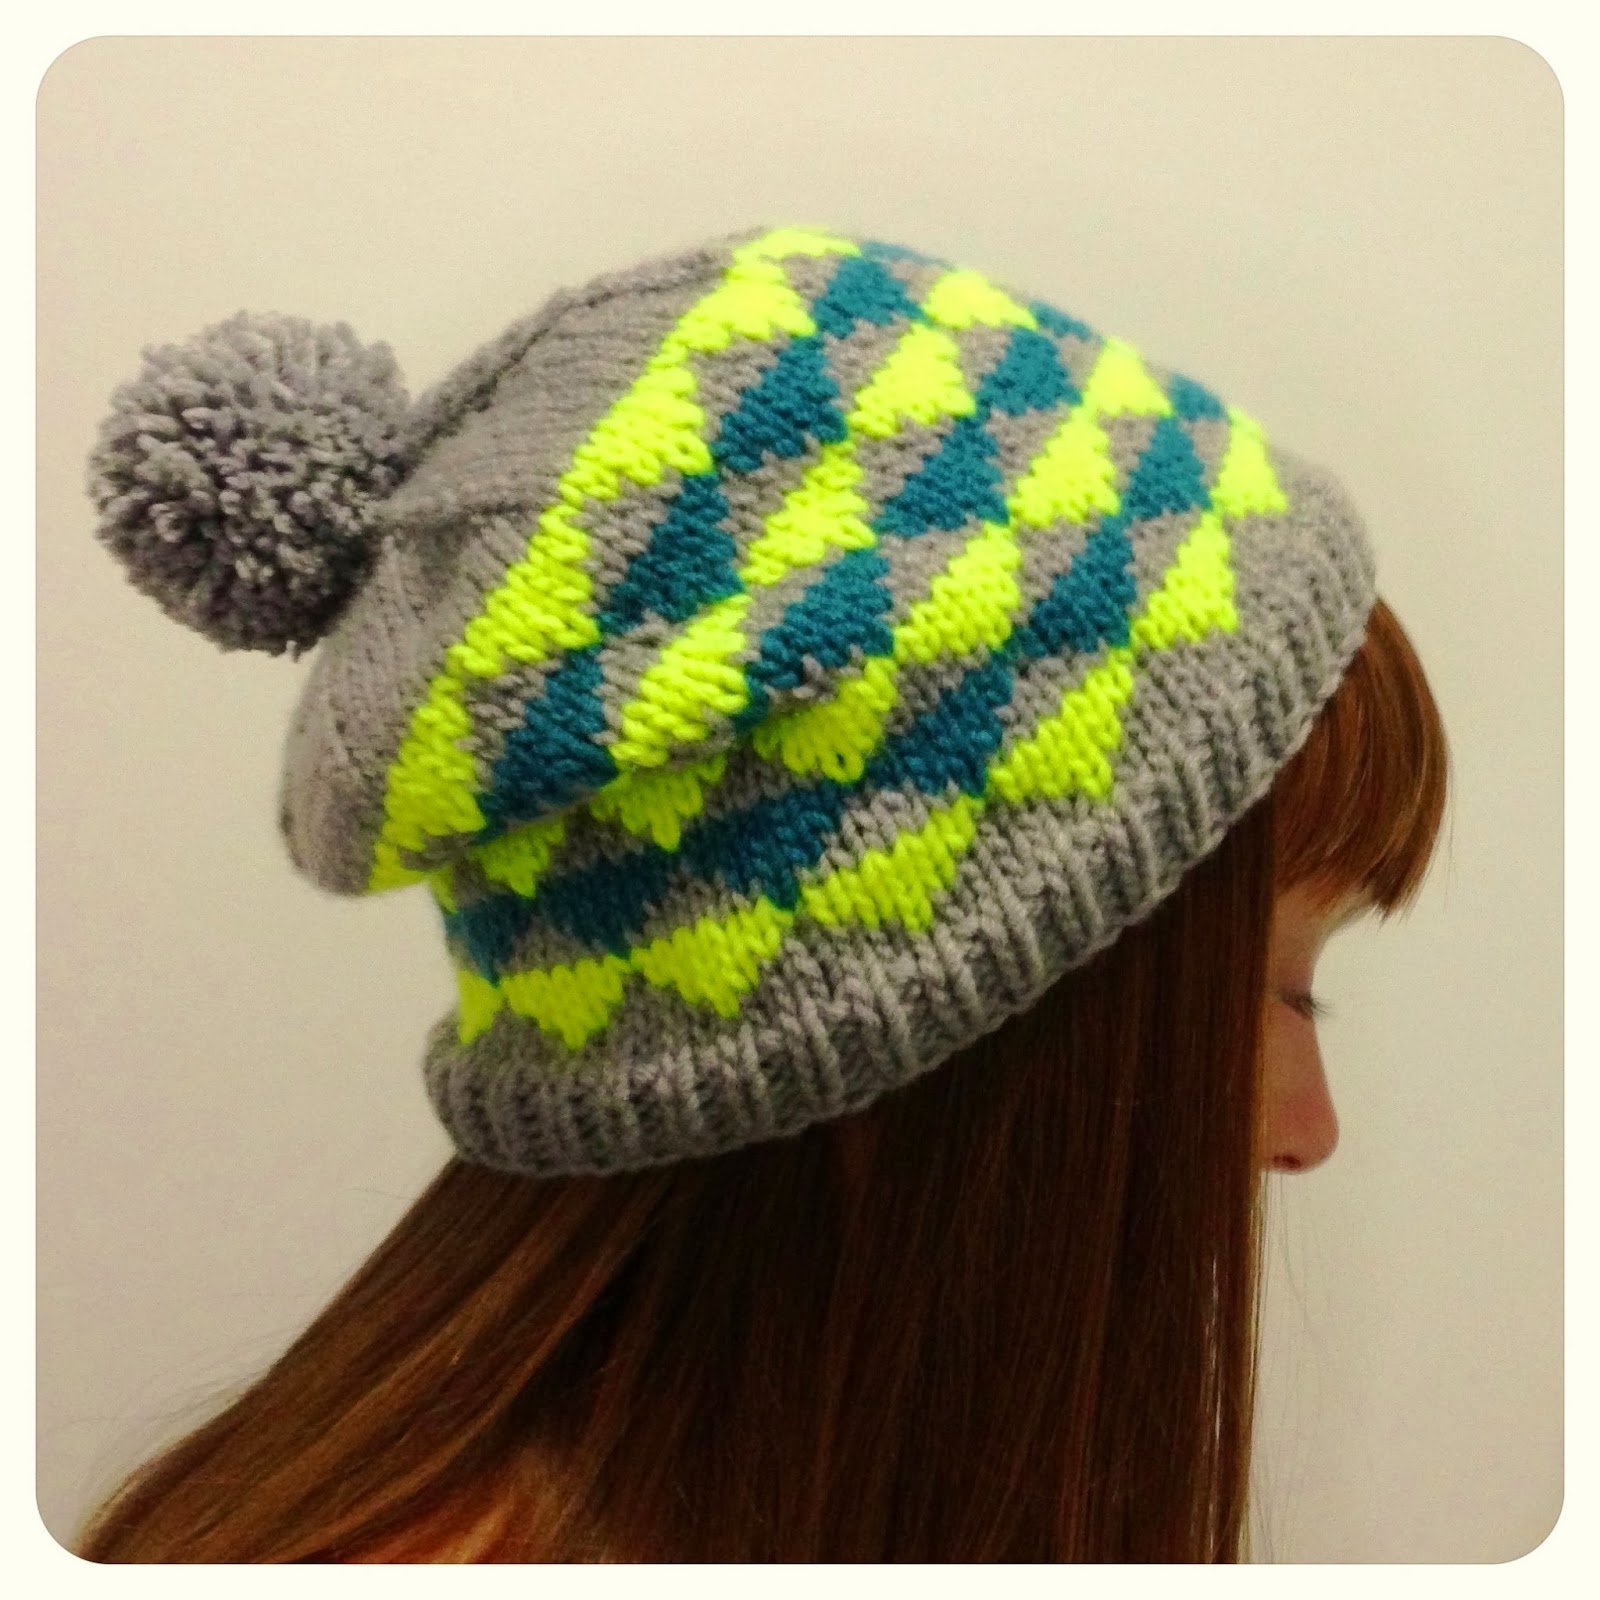
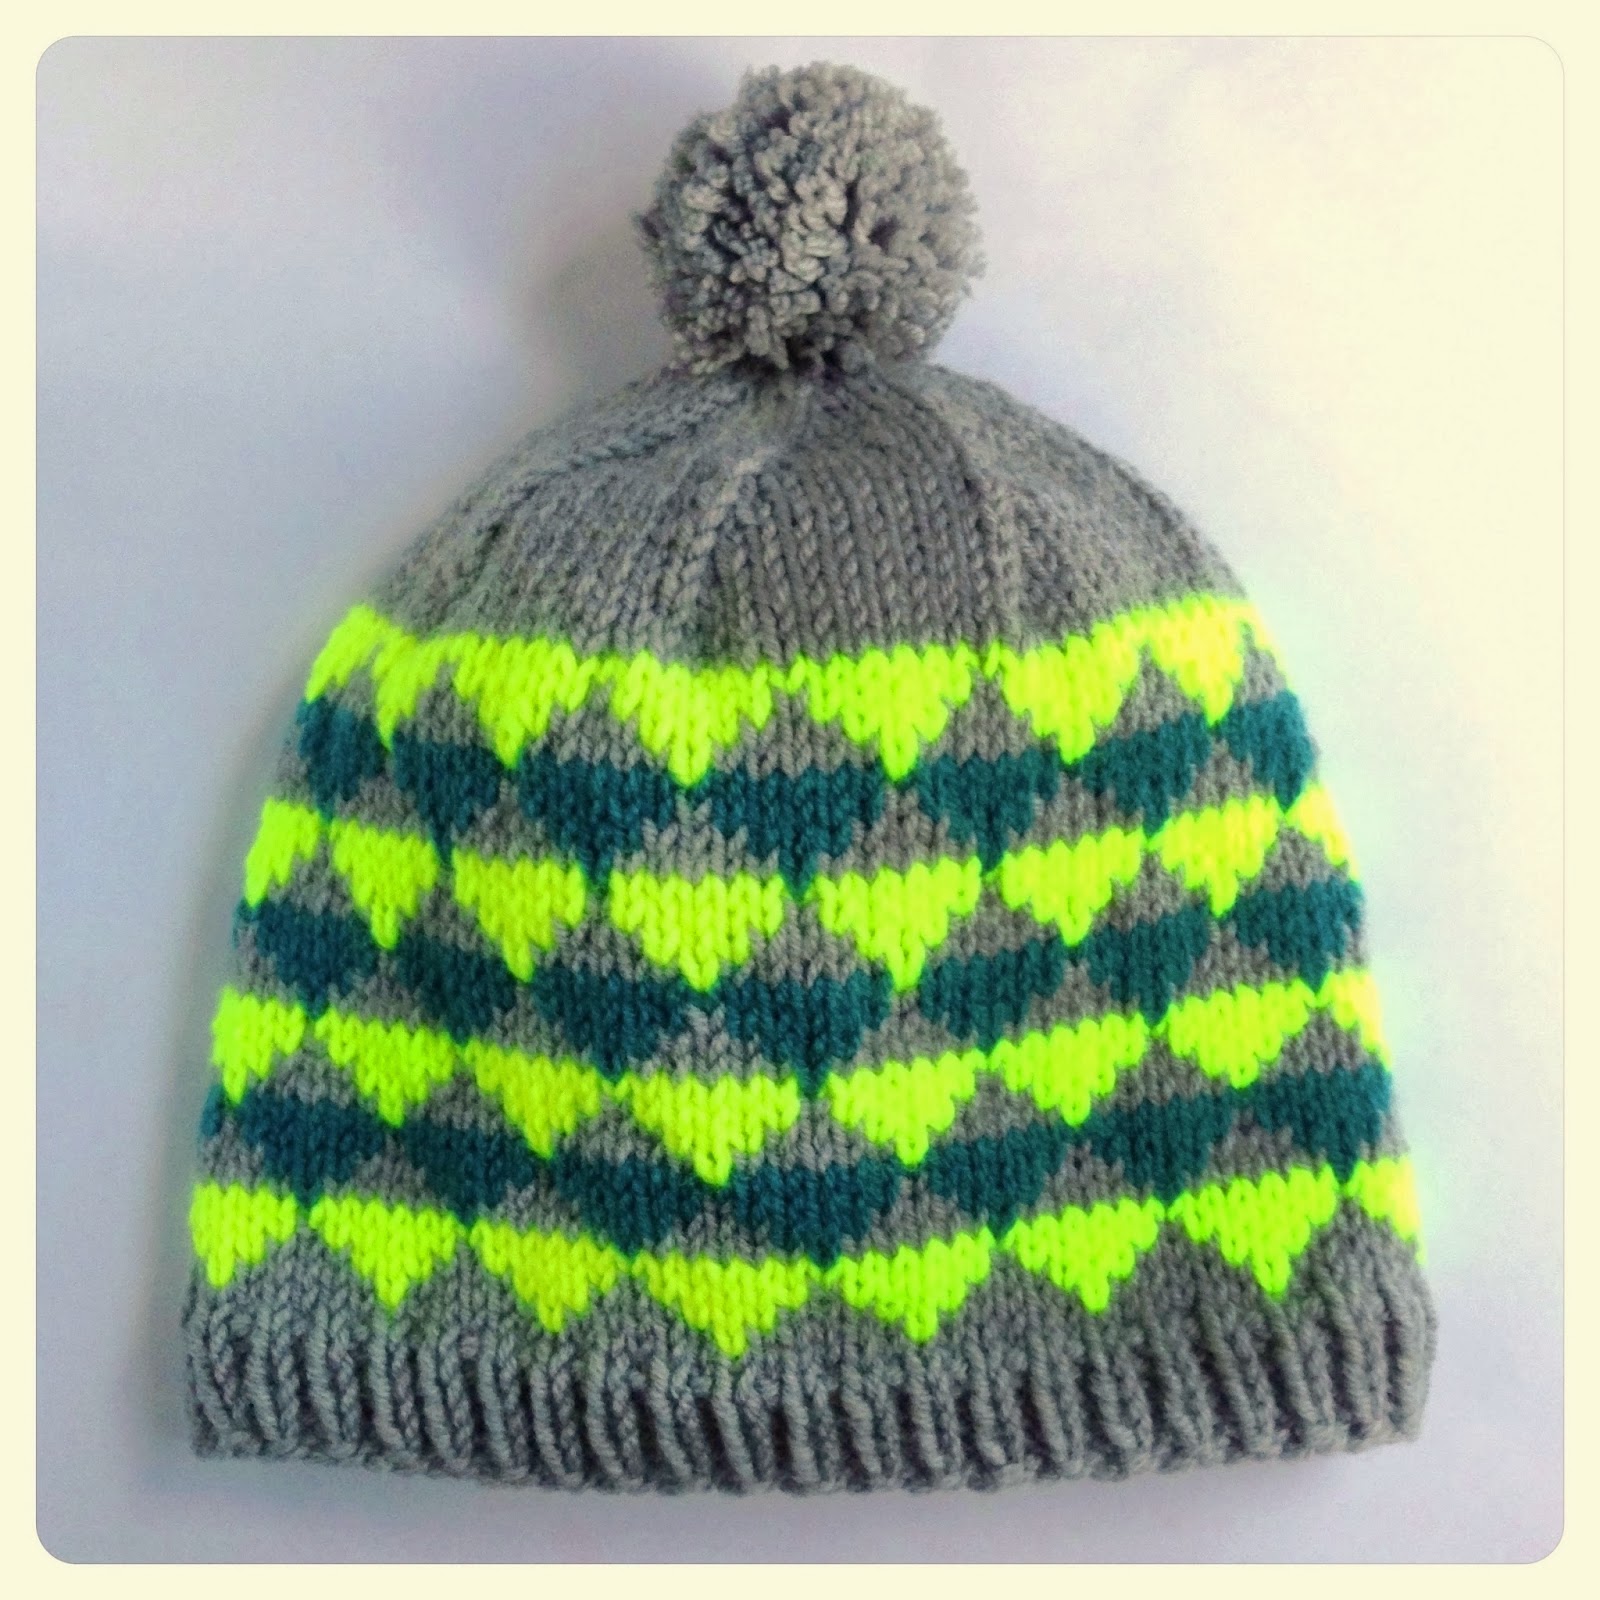
The hat uses 3 different colours (but you could use as many or as few colours as you like) and only uses a small amount of each colour, so it's a perfect stash busting pattern (and remember, the more of your stash you use, the more NEW YARN you can justify) On a side note, I have been doing a MASSIVE stash bust this year and you can see the results on Instagram by searching the tag #operationstashbust2014. I still have a lot more stash to bust, but I'm making a big dent in it.... Yaaaay!
You can find this pattern on
Ravelry, Etsy &
Craftsy!
The fingerless mitts also use 3 colours, but just like the hat, you can use as few or as many colours as you like here, and once again, it's the perfect stash buster! These work up really quickly and you could easily have a pair finished in an evening. They make a great last minute gift for when you suddenly remember that you forgot you favourite workmates Birthday! Or there is an extra guest coming for Christmas dinner :-) You can find this pattern on
Ravelry,
Etsy &
Craftsy!
For the hat and mitts pictured I have used
Australian Superfine Merino by Cleckheaton and if you haven't already tried it, I urge you to get your hands on some! Oh my goodness! It is SO soft and squishy and delicious and it has a gorgeous drape, but is still very springy and has great stretch and recoil. And it seriously comes in the most amazing colours!!! It costs a little more than a regular 50g ball of wool, but it's actually a bit bigger (65g) and the yardage is about equivalent to 1.3 balls of yarn, so it works out quite economical :-) I'm looking forward to the Southern Hemisphere to roll around to I can make myself a delicious sweater or cardigan with this yarn (and it will definitely be some sort of colourwork number, so I can use lots of the pretty colours!)
The cardigan pictured is made using a combination of
Bendigo Woollen Mills Luxury (the main colour, Slate),
Bendigo Classic (hot pink, "Deep Rose"), Cleckheaton Coutnry Naturals (mustard/ochre) and
Utiku Corridale (oatmeal/natural). You can find this pattern on
Ravelry,
Etsy &
Craftsy!
And all three patterns are available together in an e-book on
Ravelry,
Etsy &
Craftsy :-)